When you click on links to various merchants on this site and make a purchase, this can result in this site earning a commission. Affiliate programs and affiliations include, but are not limited to, the eBay Partner Network.
HOW TO: Check Main & Rod Bearing Clearances with Plastigage
NOTE: This How-To guide is neither endorsed by or property of Corvette Forum or myself in any way/shape/form. All liability stemming from any actions taken in relation to this guide is solely placed upon the end user. (This means you!)
This evening we are going to cover how to check your main bearing and connecting rod bearing clearances using Plastigage. Checking clearances is critical when building an engine and using new bearings to ensure that you are within tolerances for the bottom end components of the motor.
As a general rule, it�s better for the bearing clearance to lean a pinch to the looser side than the tighter side. If your clearances are too small, you can overheat the oil and even possible start to spin bearings due to the heat. Too loose of a clearance and you can start losing oil pressure due to leaking too much oil around the bearings.
So what is this �Plastigage� stuff I�m talking about? It�s a basic tool that you can get at almost any retail auto parts store. If they look at you like you have three heads when you ask them for it, have them get their manager, they�ll know where it is. Here is what Plastigage looks like:
You can see here that it is basically a piece of paper with a small line of plastic in there about the size of a sewing thread. They make different sizes as seen in the first photo, but for bearings on most engines, the LT1 and LT4 included, we will use the GREEN Plastigage.
Ok so you know what Plastigage is, you know what bearing clearance is and how it is important. So how do you check your clearances? I know! I put the Plastigage on a table and smash it with a hammer right!? Haha no way! Let�s go over main bearing clearances first.
What you need to do is cut or rip off a small portion the plastic material and lay it across the bearing journal on the crankshaft as shown below:
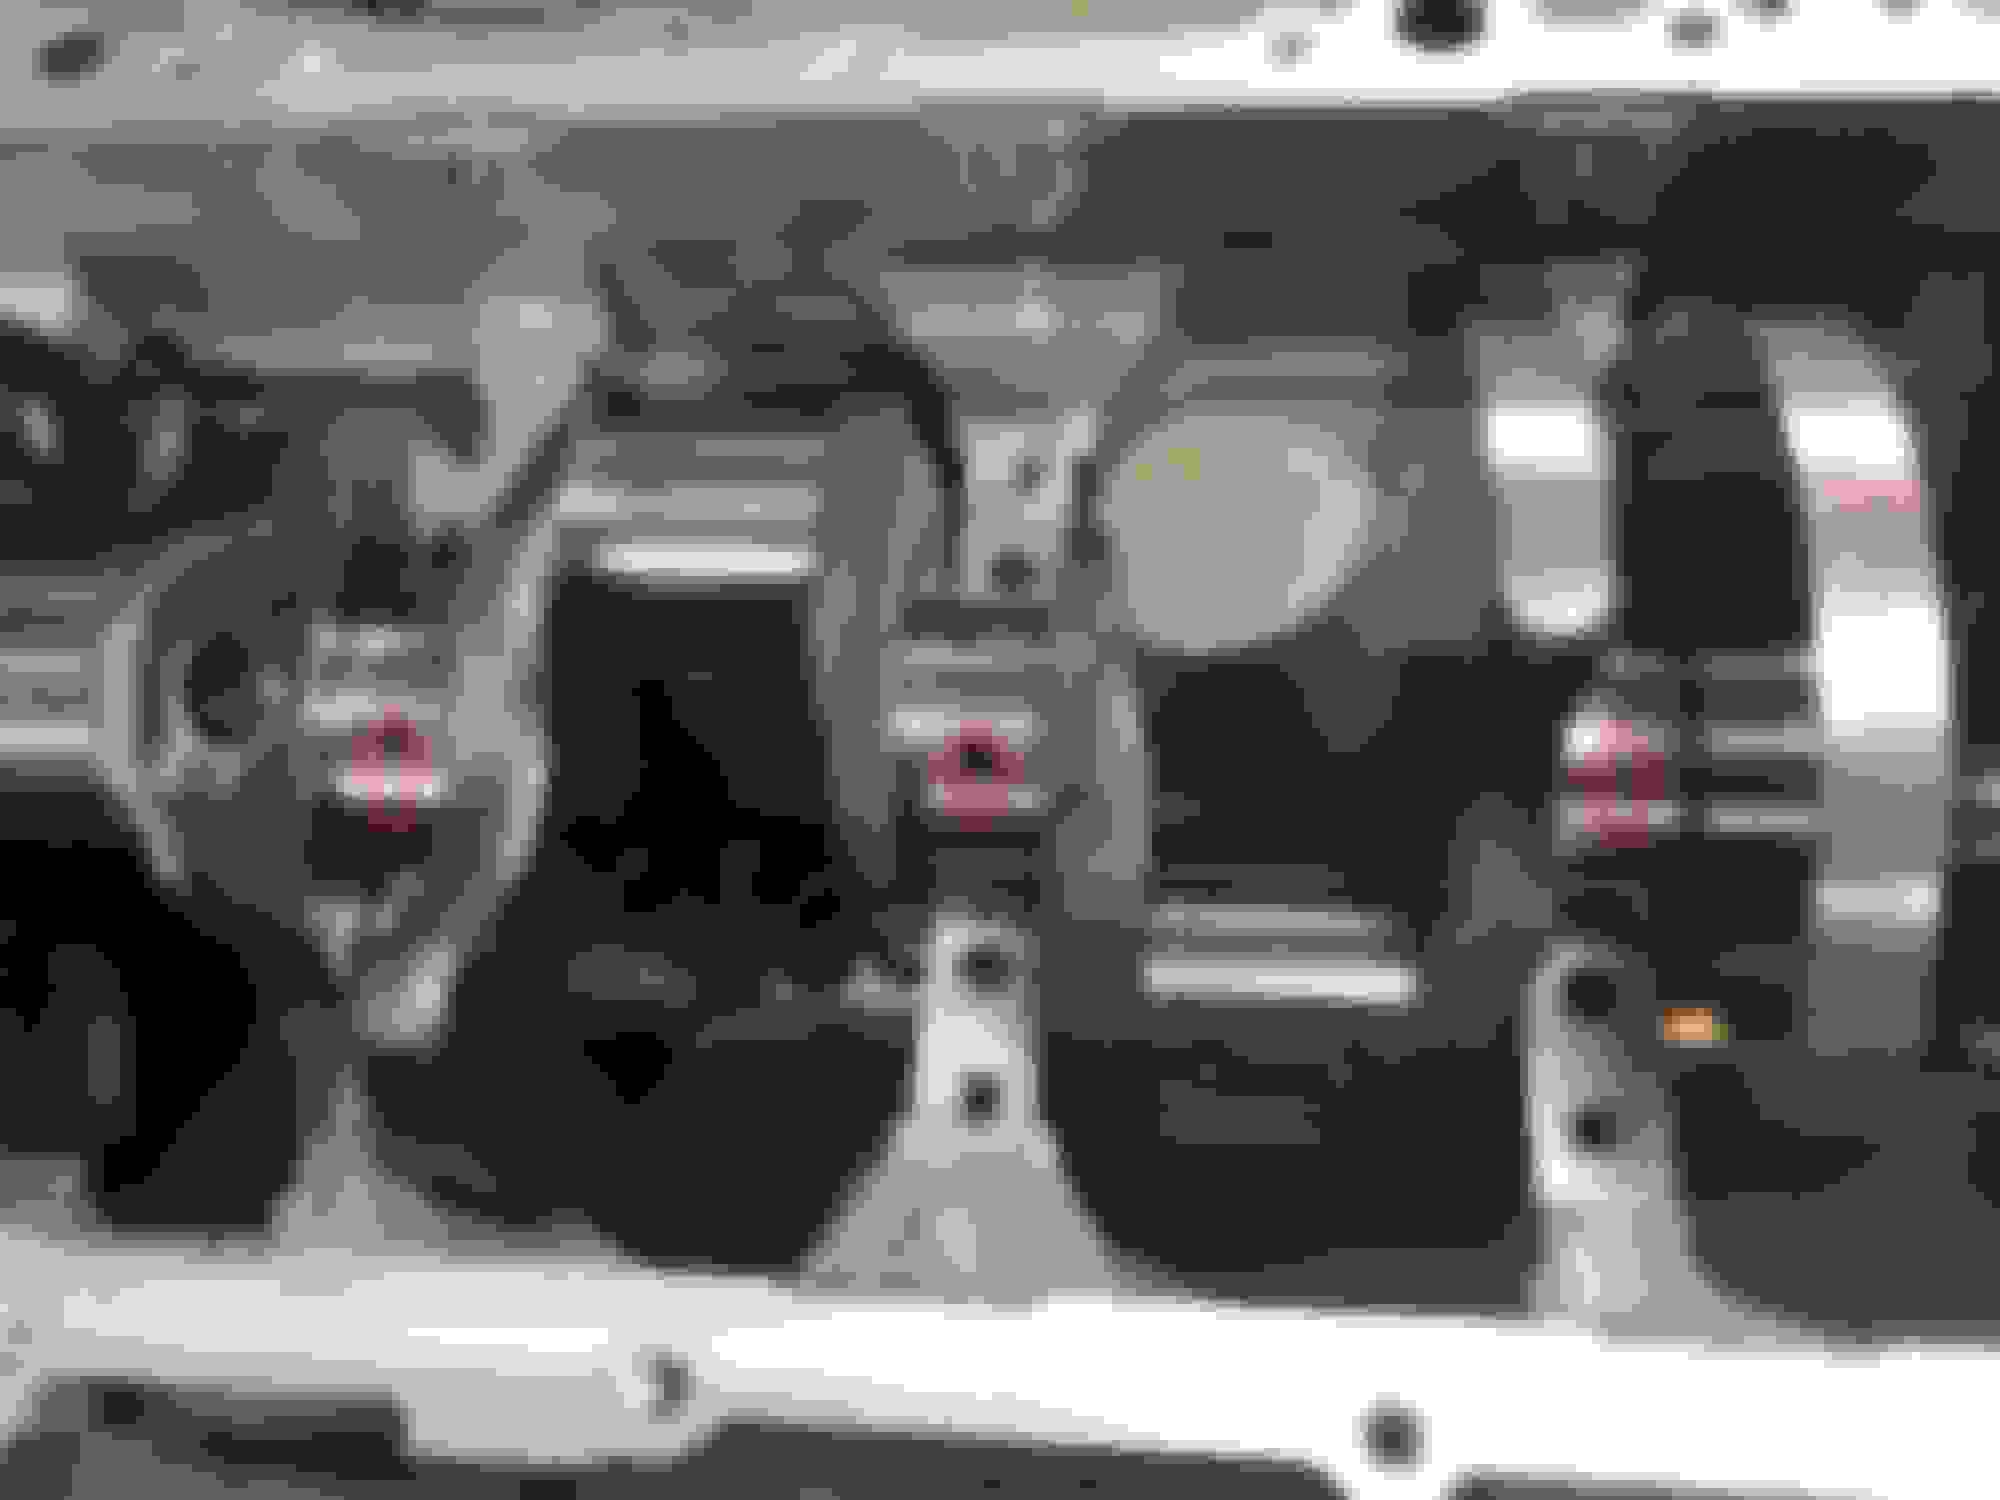
Now, you�ll need to put the main cap down carefully onto the block/crank. DO NOT wiggle the main cap back and forth to get it down! Once you get it most of the way on there, you�ll need to thread the bolts for the mains in. Now you will need to properly torque them to the correct torque specs. DO NOT MOVE THE CRANK AT ALL DURING THE PROCESS, IT WILL RUIN THE READINGS YOU TAKE LATER!
Since the LT1 and LT4 use one-time-use bolts. You CAN use your old bolts to do this, but its recommended to use the bolts that will be used for the build. In my case I used ARP main studs, and ARP rod bolts which allow multiple uses on the same bolts.
Once proper torque spec has been reached, loosen the bolts and remove them. Now CAREFULLY remove the main cap. You will see that your Plastigage has gotten smashed between the main cap and the crank. This is what you want, and is how we measure the clearance.
Now grab that green and white sheath that the Plastigage came in. You�ll notice there are markings on it making it look like a ruler of sorts. Use that as a �gauge� to determine the approximate width of the squeezed section of the Plastigage material on the crank as shown below. Always use the widest section.
Here you can see my bearing clearance is approximately 0.025mm, or 0.001�. Proper bearing clearing for the LT1 for a service engine (engine that is not brand new) is between 0.02mm-0.065mm or 0.0008�-0.0025�. So, I am within the proper clearance range for these new bearings. Great, now make sure you CLEAN off the crank journal, and the bearings so that NONE of the Plastigage is left behind! If you fail to do this, you will likely cause pre-mature bearing failure!
On to the Connecting Rods:
To do the connecting rods is the same basic procedure you just did for the mains, however these tend to take a little longer as you cannot get to all of them at the same time. Remember, DO NOT move the crank when you are tightening down the rod caps or it will screw up your readings!
You will want to position the crank for one of the rods before you put the Plastigage and the rod cap on it. Once you are at this point, put the rod cap on there, and finger screw the bolts in.
Now in order to torque the bolts down to proper torque specs without moving the crank, you need to tighten them in line with the motor, NOT from side to side! If you tighten them from side to side, then you will make the crank turn over ruining your readings! Also, you want to pull the torque wrench towards you, and also make sure you are positioned so that if you are doing a rod that is on the back side of the journal closer to the back of the engine, that you are at the back of the engine during the tightening procedure. If you are doing a rod that is on a journal that is on the front side of the rod pairs, you should be tightening from the front of the engine.
Loosen the rod caps after getting them torqued properly, and start reading your measurements again. Compare these measurements with the specs in the manual, which are 0.023mm-0.076mm or 0.0009�-0.0029�. As long as you are within those clearances, you're good to go. If any of your readings are way out of whack, redo the process from for that bearing from the beginning, and if you still get bad results, its time to take it to the machine shop to get it looked at.
Please remember that Plastigage is not a 100% accurate way to know your exact bearing clearances, but rather a quick way to see if you are generally within spec. Should you desire to get exact numbers for your bearings, please take you rotating assembly to a machine shop!
Once again, make sure to clean off you bearings and journals of the Plastigage really well so they look crystal clear of any material before assembling you engine.
That�s it. Stay tuned for more How To guides coming your way.
Thanks guys. The motor is back together and ready to go in already. Im just trying to get caught up on all the How To guides I want to do. Theres still several more coming. Next up is likely the cam phaser limiter install.
Well done! Just had to do one in the car (all rods and mains) to look for a low oil pressure problem on a big block (turned out to be the distributor, of all things). Not fun, but a lot easier than mic'ing everything!
When building an engine I usually do both - I mic and dial bore it, but for the price I also plastigauge it as sanity check. People may not trust plastigauge all the way, but I've never seen it be wrong when used properly!
Thanks! As a fellow Plastigage user, perhaps you can point out if I missed anything in the guide.
Thanks! As a fellow Plastigage user, perhaps you can point out if I missed anything in the guide.
Looks complete to me! You covered it, but the one thing that bears repeating is:
- Install the crank (at least the journals you're checking) completely clean and dry
- Since you have no oil, do NOT turn the crank when it's like that
I'm curious for guys that use both, how well do the measurements usually compare?
For me I'd say within 0.005 or so. The biggest problem is when you're "between" size markings on the plastigauge and have to interpolate (ie: guess a little) as to what you're at.
If you're between the 0.015 and 0.028 markings you'd have to guess 0.021 maybe, and perhaps it actually measures out at 0.025. That's the kind of error I'd call "typical".
Agreed. And if you are between markings and your tolerances are close to the markings themselves, you're typically good to go.
I have seen error with plastiguage on cross bolted blocks. Although I have not tested this on an LT1 or 4.
Torqueing the center bolts down tends to distort the main bearing bore making it smaller at the vertical 12 to 6 O’clock position until the side bolts are completely torqued to spec.
The effect is, it crushes the plastiguage to a greater amount than would normally be seen. Because the plastiguage does not spring back, you end up thinking you have less clearance than you actually do. I have seen this change the reading on an iron block by as much as .0015.
I have seen error with plastiguage on cross bolted blocks. Although I have not tested this on an LT1 or 4.
Torqueing the center bolts down tends to distort the main bearing bore making it smaller at the vertical 12 to 6 O�clock position until the side bolts are completely torqued to spec.
The effect is, it crushes the plastiguage to a greater amount than would normally be seen. Because the plastiguage does not spring back, you end up thinking you have less clearance than you actually do. I have seen this change the reading on an iron block by as much as .0015.
That would have worked out great for me anyway as I was close to the high side of clearance tolerances.

 06-15-2017, 12:28 AM