When it comes to supervillains, few are as famous as the Joker. He may not be as powerful as some villains, but he is certainly one of the most memorable.
Joker first appeared way back in the 1940 as an adversary for Batman, and since then he has seen many changes and versions.
From the comics to animated series and even portrayals by iconic actors like Jack Nicholson and Heath Ledger, there are seemingly endless ways to interpret this character.
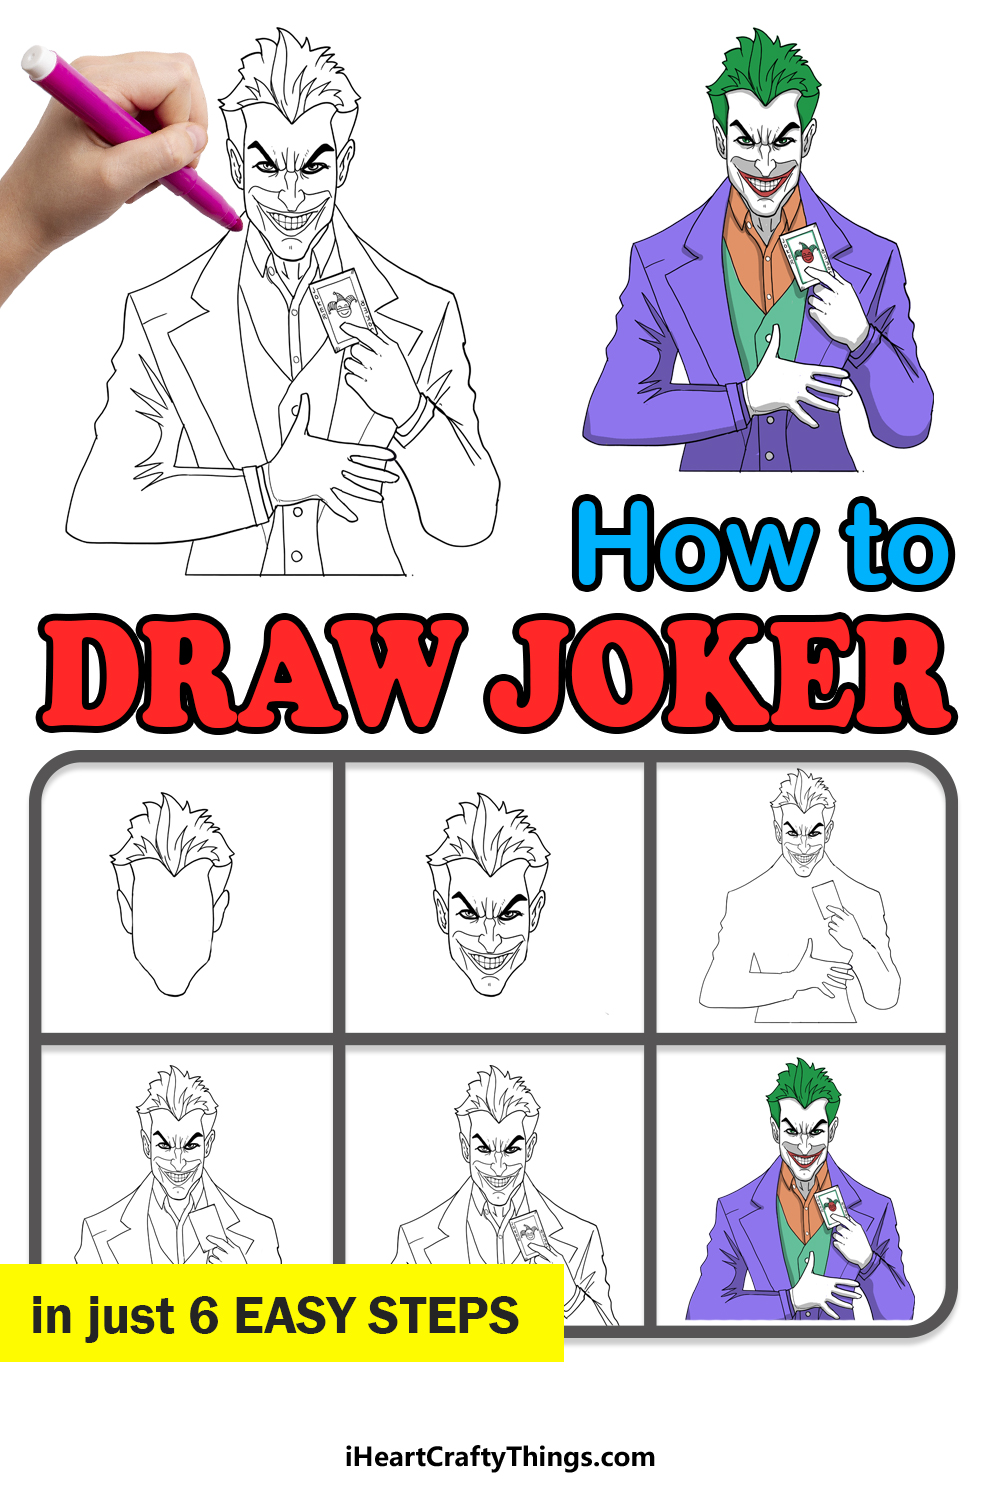
Now, it’s your turn to create your own portrayal as we learn how to draw Joker in just 6 easy steps.
Even though this design is quite detailed, we will break it down to show you how you can make it really easy.
For this version, we will be aiming for a classic comic portrayal, but we will also go over a few ways that you could change it to look like other iterations.
We will also give a few ideas for some extras you can add in order to make it even more unique. With all that said, let’s dive right in and find out how you can draw this famous and iconic villain.
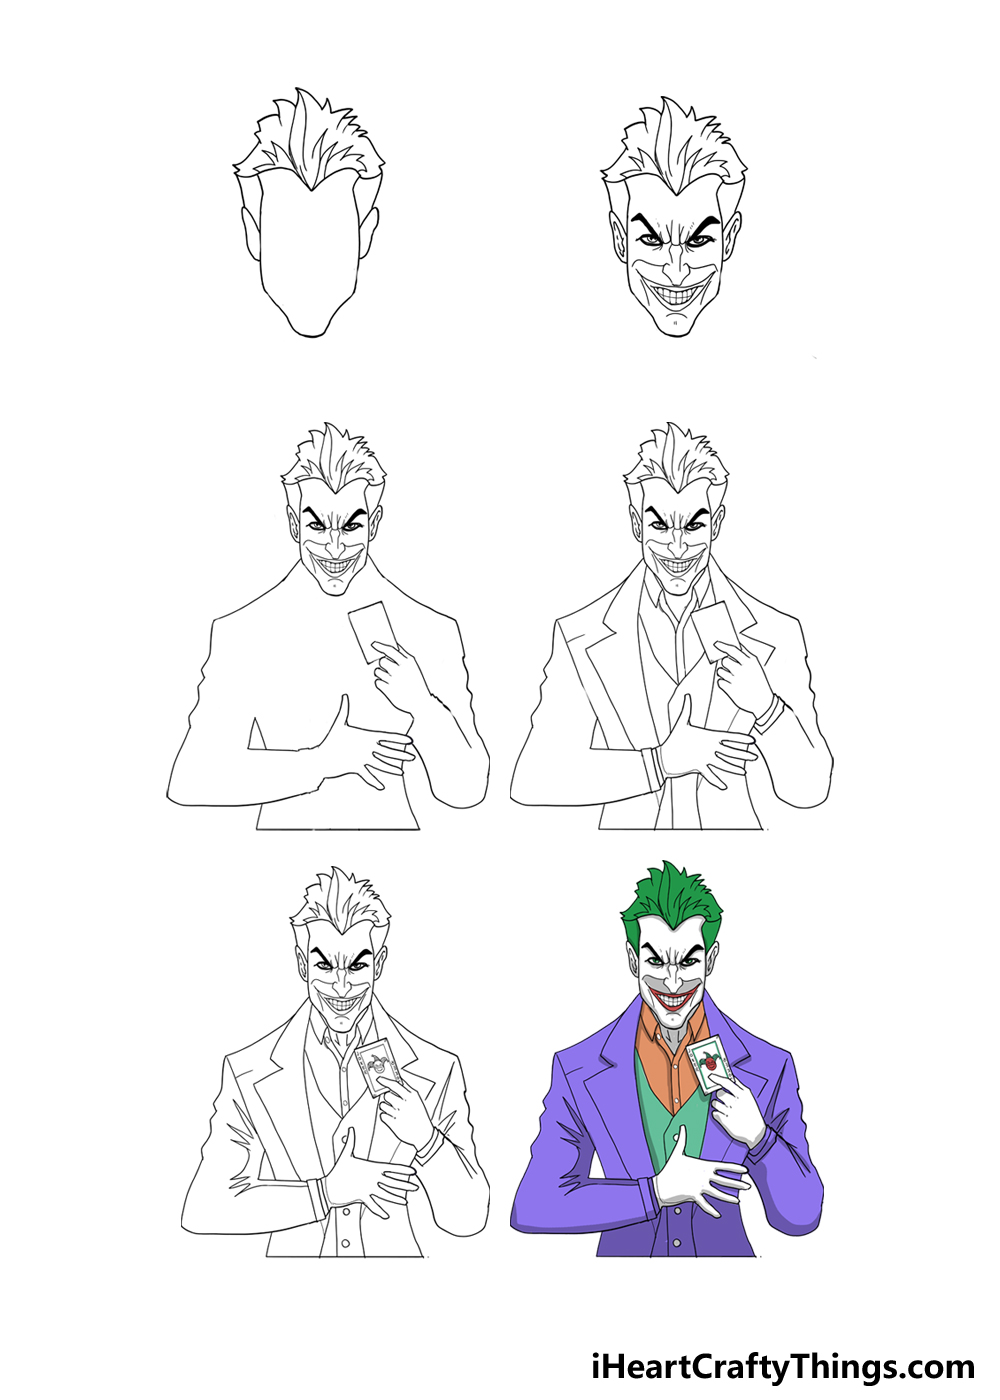
How to Draw Joker – Let’s Get Started!
Step 1
Even though Joker has had many different appearances in his history throughout different mediums, there are a few things that have remained consistent throughout.
He tends to have a long, pale face with wild green hair, and these are both elements we will be recreating for this version.
In order to prepare for this drawing, you can draw some rough shapes with your pencil.
We would recommend looking at some of the later images in this guide and then representing them with basic shapes.
A thin oval shape for his head and then squares and rectangles for his body and arms would work brilliantly.
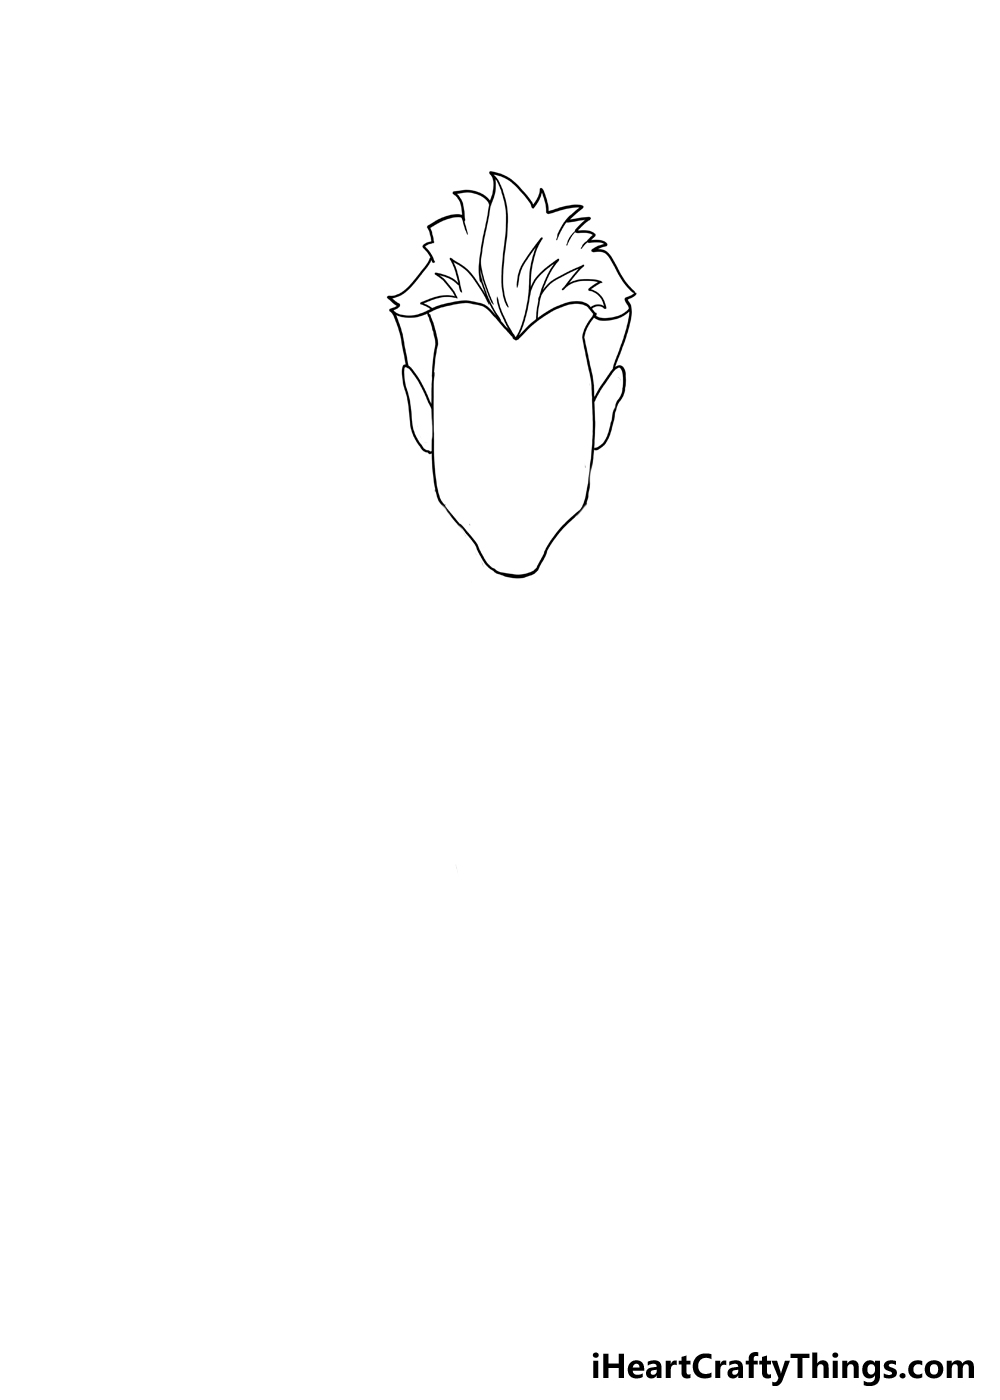
Whether you do decide to use these basic shapes or not, we will then be ready to draw the actual face and hair. Most real faces are not as long as this one, but we’re aiming for a rather exaggerated look.
Draw the sides of his face with some long, relatively straight lines that then curve inward for his jaw. Then, we will give him a prominent, rounded square chin.
His hair will then be separated into three different sections; one on either side and a spiky section up on the top of his head.
This section will probably be the trickiest, so try to follow the reference image closely.
Finish off by adding a long, thin ear on each side of his head. There are no details on the face, but we will add those as we move on to the next steps of the guide.
Step 2: Draw the facial details for Joker

Joker’s facial features are also very specific and iconic to the character, so it’s important that we create an accurate representation. Perhaps the most recognizable aspect of his face is his smile.
Joker almost always has a large, creepy grin on his face, and we will be adding that now. His mouth is separated into two different sections.
The first is the actual mouth itself in which we can see his toothy grin. Then, it is surrounded by clown makeup which makes it even more prominent on his face.
This portion has pointy tips on each end to make him look more menacing. Next, we will focus on his eyes.
Another well-known feature of Joker is his pair of expressive eyebrows, so we will start with those. They are thick and at quite a steep angle, giving him his sinister facial expression.
His eyes will be right beneath the eyebrows, and they will have a fairly thick outline around them. Some simple line details around the eyes will help to give his face more realistic wrinkles.
His nose will come next, and it is trickier to draw than you may think. We will use a lot of fairly angular lines to give it a crooked look.
Next, draw some curvy horizontal lines to the left and right of his nose in order to give him his famous sharp cheekbones.
There are a lot of subtle details to this step, so don’t be afraid to take it slowly as you carefully follow the reference.
The next part will have us beginning the body for Joker, so let’s go ahead and do that when you’re ready.
Step 3: Add the body outline for Joker
When it comes to the body for this version of this drawing of Joker, we will make it fairly detailed and realistically proportioned.
To try and make this easier, we will focus on creating an outline before adding specific details.
Despite this, we would recommend following the reference image closely, and we would once again encourage drawing out a rough version with a light pencil if you haven’t already.
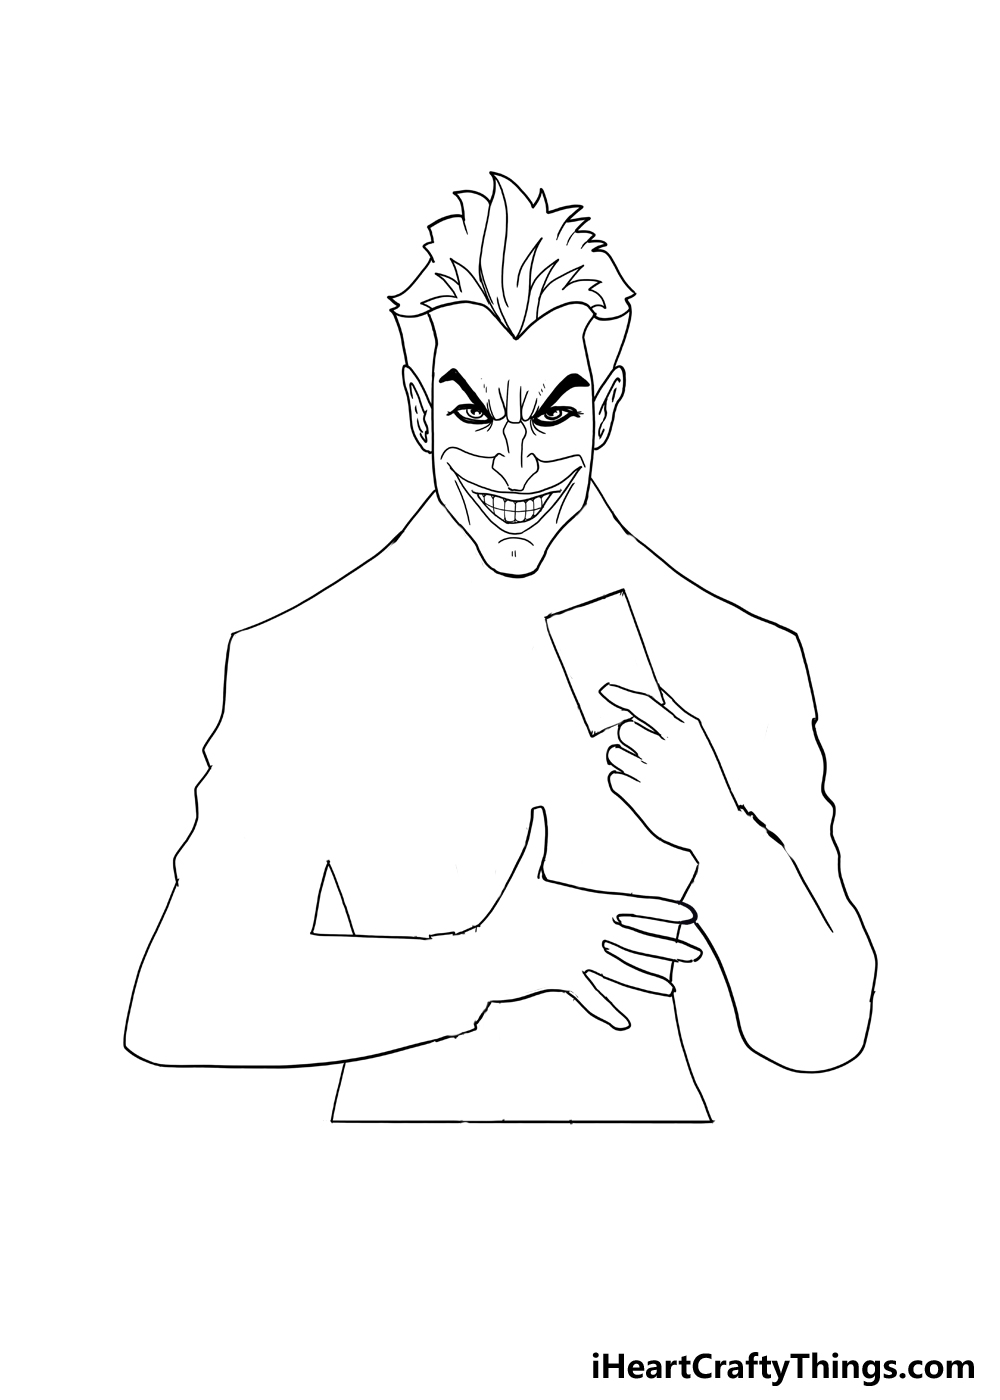
While we are drawing an outline, his arm outlines will extend into the design to make it look like he’s holding them in front of himself. First, draw the shoulders at a gentle slope.
The arm on our left will be over his stomach, more or less, and his hand will be flat out. Drawing hands is tricky, so follow the reference image closely if you struggle with this aspect.
If you struggle with his hand, then you could turn it into a fist or have his arm dropping down out of the frame.
The arm on the right will be held up a bit higher, and there will be a small rectangle in the fingers.
This will of course be the calling card for Joker, which is the Joker card, as you could probably guess.
There are some tricky details to this step, so take your time with it and we can add some finer details in the next step.
Step 4: Now draw the finer details of Joker’s clothing

Now that you have the outline for Joker’s body and arms, we can focus on adding some clothing details. In this portrayal, Joker is wearing his classic purple suit jacket over a waistcoat and shirt.
First, start simply by adding the cuffs of his jacket. These can be drawn by adding some straight lines across the ends of his jacket arms.
Next, we will add the collars of his jacket. This is a part where we would once again highly recommend following the reference image closely, as it can be a bit tricky and specific.
Each side will have two pointy portions, and they should extend all the way down. The next part to draw will be his waistcoat.
This part should be easier to draw, as it is basically two mostly vertical lines connected to one another.
The one on the right will be much longer, which makes it look like the side on the left is tucked beneath it.
Finally, we will add some pointy rectangular shapes for his shirt collar and then use a series of lines for his shirt.
When you have finished drawing all of these aspects, you can check that they match our example before we continue.
If you took our advice of drawing some guiding shapes in pencil, then these can be erased now.
Just be sure that you don’t smudge any ink or erase any lines that you want to keep! Then we can add some final details.
Step 5: Draw some smaller final details

It’s time to finish off the final details of the drawing to prepare us for the final step where we will add some colors to Joker.
These details are mostly quite small and subtle, but they will help to finish off the design nicely.
First, we will draw the face of the Joker card that he is holding. This will have a rectangular border inside the outer outline with the word Joker written in the left and right vertical parts of the border.
Finally, there will be a small jester face at the center. Most of the rest of the details in this step will go on his clothing to make it a bit more realistic.
For starters, you can draw some jagged lines on his arms to make them look more creased. Then, we will draw some small circles in the sections of his shirt and jacket for some small buttons.
Once these details have been added, you can then add some of your own ideas! One would be to draw a background.
You could draw the Gotham skyline for one idea, or you could replicate your favorite Joker scene by adding the background that corresponds to it.
Adding other characters like Batman or Harley Quinn would also work great. Finally, you could change some details of his face or clothing to make him look like your favorite version of the Joker.
If you were to pick a different version of the character, which would you choose?
Step 6: Now, finish off with some color for Joker
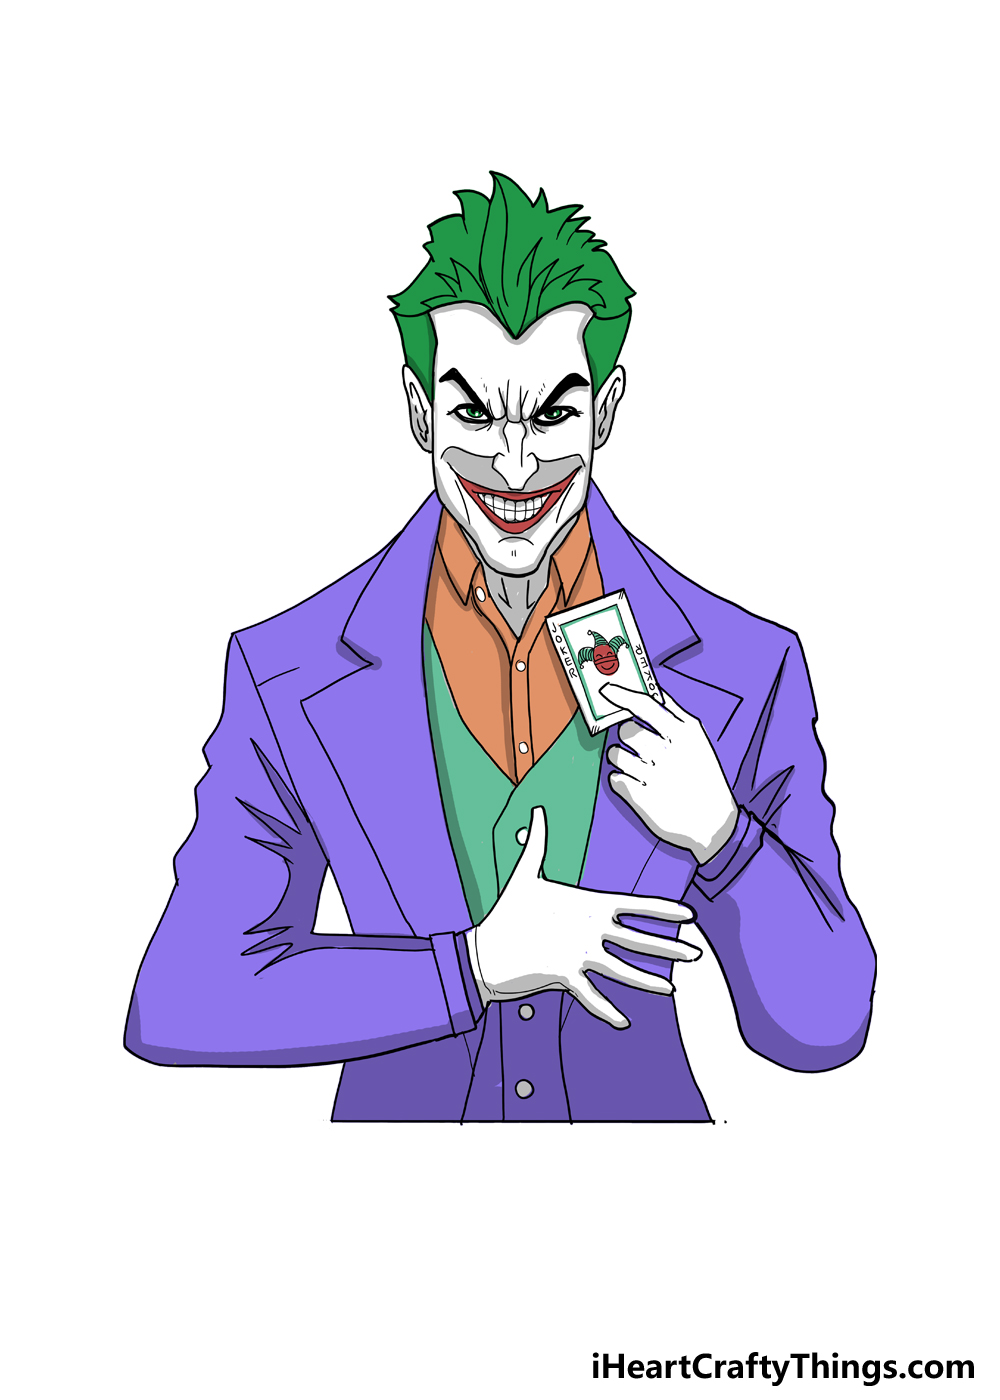
One thing you can’t say about Joker is that he is a boring-looking character, and we will showcase this by adding his characteristic bright color scheme.
The two main colors associated with Joker would be purple and green, and we will be sure to add plenty of both. Start off by adding some bright green to his hair.
You can work in some subtle shades of different greens to give his hair some more life and texture. We will also use some green for his waistcoat to keep to his color scheme.
The Joker’s skin is famously pure white, but you can add some light grey highlights for some shading, as we demonstrate in the reference image.
Then we will use various shades of purple for his suit jacket. Most of it will be rather bright purples, but we will use some darker shades for shading.
You can then finish off with some orange for his shirt and red for his lips and on the card. These will finish off the drawing, but there are a few ways that you can take it further!
One is by using different art tools and mediums to make the colors pop in different ways. Using colored pens and markers along with paints, for example, could make some great color contrasts.
You can also use different colors for different iterations of the character that you would like to represent. Will you use the same colors we did or will you try out some different ones?
Your Joker Drawing is Complete!
That concludes all six steps of this guide on how to draw Joker! This was quite a detailed character to draw, so you should be proud of finishing all 6 steps and ending up with such a cool drawing.
Now that you have mastered drawing the Joker, you can change it in all sorts of interesting ways. We’ve spoken of a few examples such as changing the version of Joker or by adding a background.
These are a few ways to put your own spin on the drawing, but we’re sure that you can think of many more! For example, another idea would be to fill the background with playing cards.
This would create a more thematic background instead of using an actual setting. Either approach can work, so it depends on your own preferences.
When your Joker drawing is all done, we would love to see how you portrayed this classic and iconic character! You can show off your artwork by sharing it to our Facebook and Pinterest pages.
Seeing how you chose to portray the Clown Prince of Crime would be fantastic, so we hope you will show it off!